Post Series: CareDash
- 1.How Can I Claim My CareDash Profile?
- 2.How Can I Increase the Number of Positive Reviews on CareDash?
- 3.How Can I Remove a Negative or Fake Review on CareDash?
- 4.How to Fill out and Enhance Your CareDash Profile
Since launching in 2016, CareDash has become one of the most reliable place for patients to find information about doctors on the web. CareDash was created with the goal of creating transparency between patients and the providers who treat them. As a result, they’ve created a safe space for patients to leave their reviews and find information like what conditions a doctor may treat or what affiliations they have.
More interestingly, CareDash provides information about each doctor’s credentials right alongside the amount of money that doctor may have received from medical companies, like pharmaceutical brands. In comparison with many other review sites for doctors, CareDash stands apart in their dedication to providing transparent information on providers across the US.
For a doctor, this makes claiming and managing your profile on CareDash all the more important as more and more patients go to CareDash to make informed decisions.
As you’re getting into the groove of reputation management, claiming your CareDash profile should be on your “Top 10 Profiles” list. In this blog, we’ll teach you how to claim your profile on CareDash to give potential patients the best information about your practices.
Why You Should Claim Your CareDash Profile
At InboundMD, we always recommend that doctors should be proactive in claiming and managing their profiles across any of the major review websites. Since there are hundreds of such sites, starting off with the heavy-hitters, like CareDash, helps you manage your online reputation most effectively.
CareDash is one doctor review platform that aims to provide the most comprehensive information to patients. It is for this reason that you’ll want to make sure that your profile is claimed and successfully managed.
This means updating all of the information on your profile, like your education, locations, hours, and conditions treated. It also means that you should upload a photo and route your current patients to your CareDash profile to write about their experience.
As a potential patient is browsing for a new doctor in their area, your profile will be able to stand out and make the best impression on that person looking for the best care.
Step 1: Finding Your Profile
CareDash really makes things easy when it comes to claiming your profile. Directly on their homepage is a search bar that has fields for names, specialty, practice, or hospital and location. It’s typically used by patients who are looking for a specific doctor or specialist in their area.
However, we’re going to keep things simple and use this search bar as tool you’ll use to see if you even have a profile on CareDash.
Simply enter your name and location into the homepage search bar and hit enter!
You may notice that other doctors appear on this search screen as you type. This is just CareDash autofilling to help patients narrow down information. If you have a profile on CareDash, typing in your location should help you narrow down to just one profile – yours!
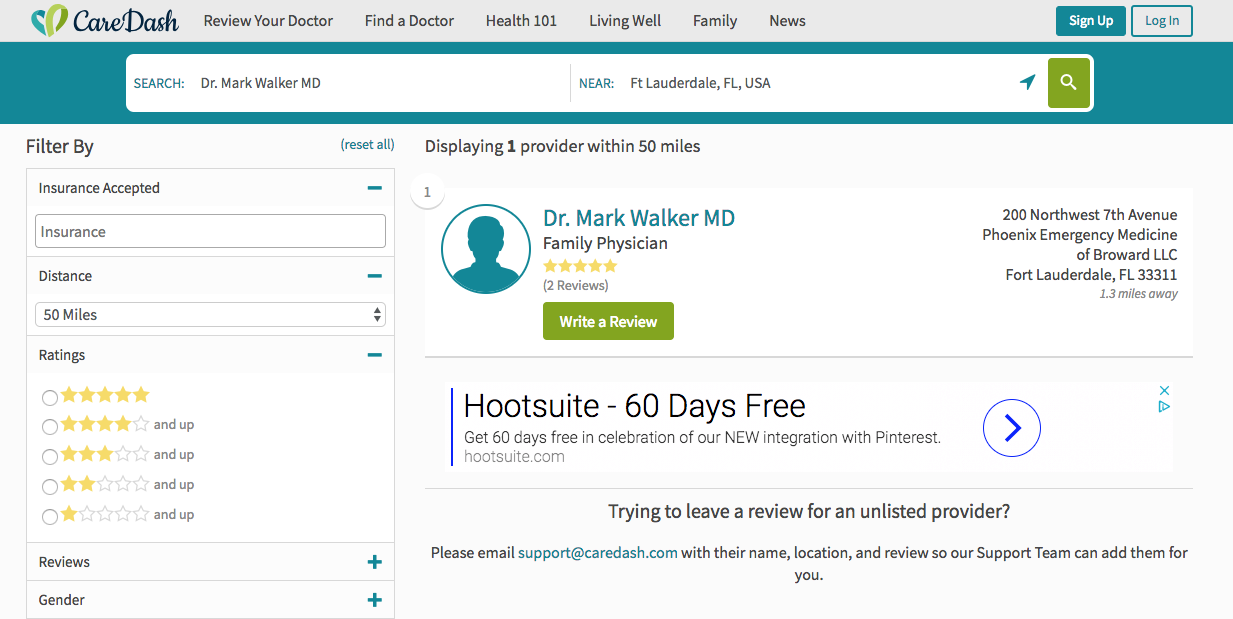
Step 2: Checking Out Your CareDash Profile
Once you’ve found your profile, you should take a minute to read through the information that’s available both on the search page (shown above) and your profile.
After all, this is the information that your potential patients are seeing so make sure it’s the best representation of who you are and that the clerical information is correct.
An important detail to check your profile for is whether or not it’s claimed.
This information is available right at the top of your profile, underneath your picture (or the teal logo CareDash uses in place of a doctor headshot). If you see an orange button that says “Claim This Profile,” your account has been automatically generated and is available for you to claim and control.
If you notice that you have a profile but it doesn’t showcase the Claim button, it’s possible that you or an office manager have previously claimed your profile. Check your documentation for a password or email address that could have been used for your profile. When in doubt, you can also contact their support team.
Step 3: Claiming Your Profile
Now that you’ve found your profile, gotten a glimpse at the information that’s publicly available, and confirmed that it isn’t already claimed, you can move on with Step 3: claiming your profile!
Directly from the top of your profile, you’ll be able to click on that orange “Claim This Profile” button. From there, you’ll be taken to a new page that allows you to sign up or login to CareDash to begin the claiming process.
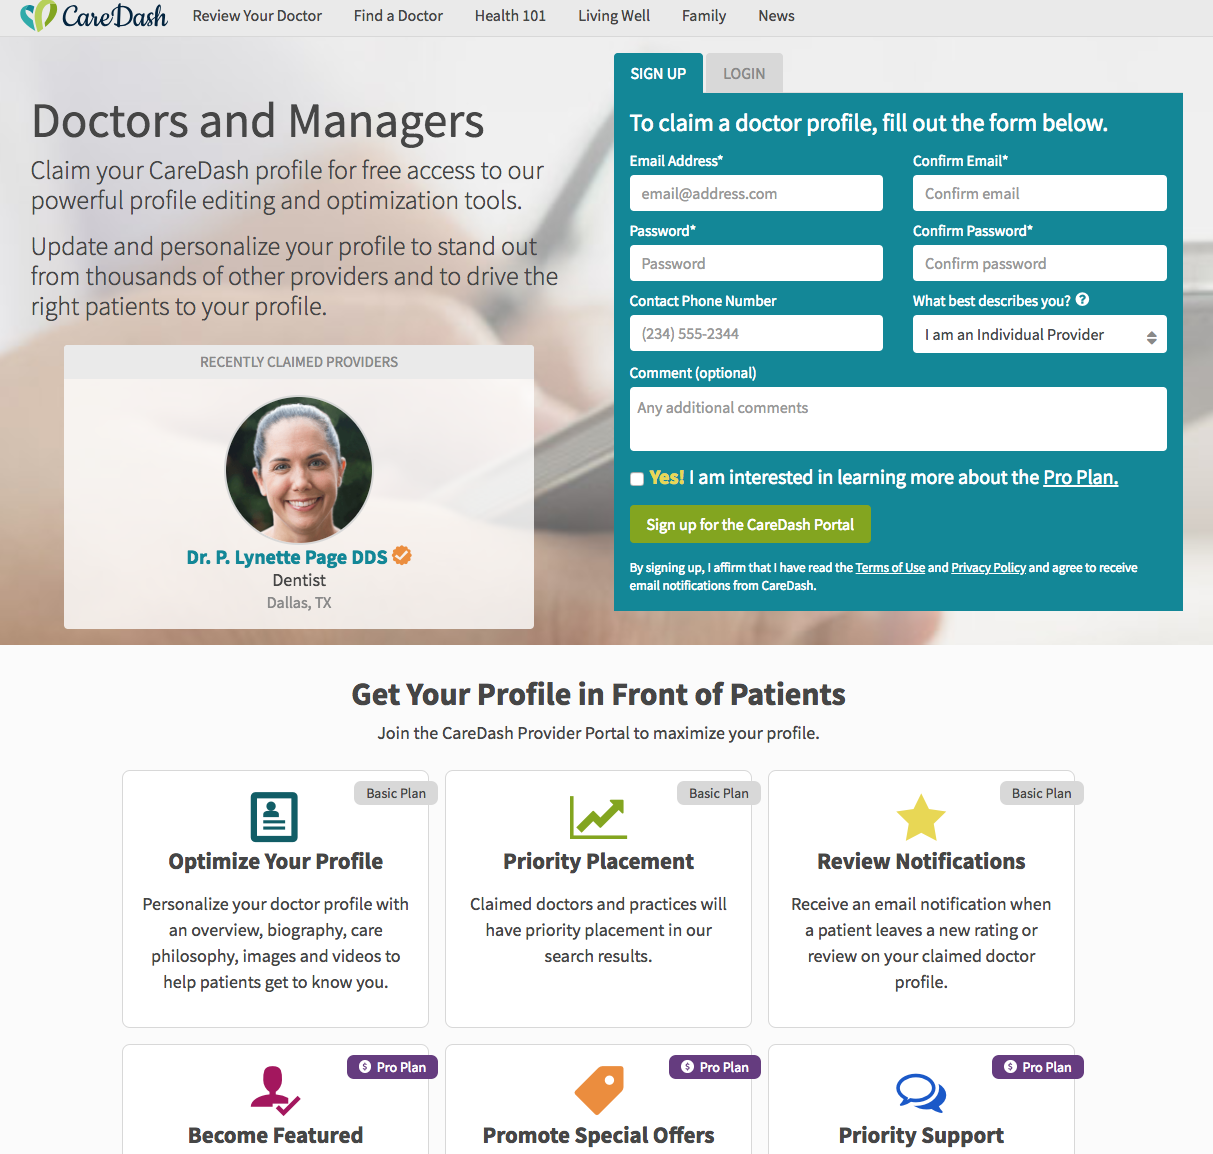
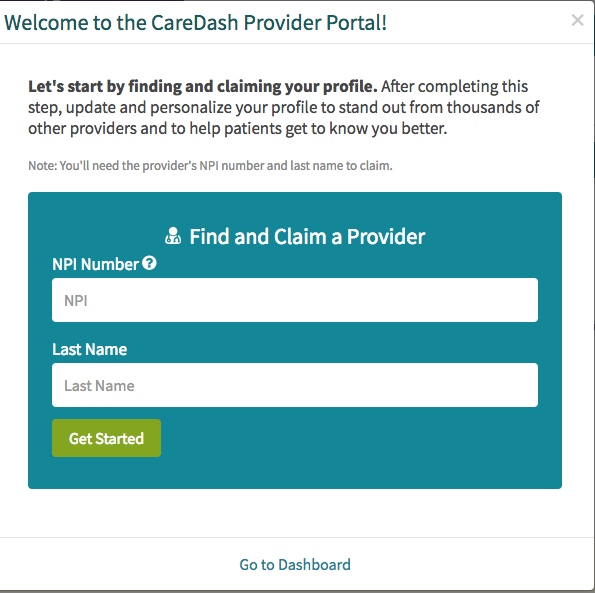
Step 4: Entering Your Provider Information
Once you’ve entered your information, CareDash will work to verify that you are indeed the provider whose profile you’re trying to claim.
The way they do this differs from other sites, like Google. Instead of calling your practice with a code, you’ll simply have to enter your NPI (National Provider Identifier) and last name.
If you’ve entered all your information correctly, the CareDash team will grant you ownership of your profile. From there, you’ll be able to upload an image, update your information, and continue to fill out your profile so that potential patients can see everything they need to before making a decision.
For more information about your CareDash profile, online reputation management for doctors, or how you can route patients to certain profiles, please contact us.